![]() |
Showing posts with label DIY. Show all posts
Tuesday, December 3, 2013
Last Minute Details
Whoa, where has the past couple of months gone? My sister's wedding was a lot of fun and although I should have started memorizing my speech earlier, I think it went just fine! I volunteered to create the placement cards for the tables as well as the menu signs.
The dinner was held at a delicious Chinese restaurant and each table had family-styled serving so we made one of these menu signs at each table. You can see that the menu and the house signs are in boxed frames that we got at Ikea here, except we took out the matting for the time-being to fit the 5x7 photos. I had a GRAND idea for the placement cards and attempted to make all of them on chalkboard background and similar fonts as the menus and the house signs. They ALL turned out blurry so I scrapped the idea and went with the simple 
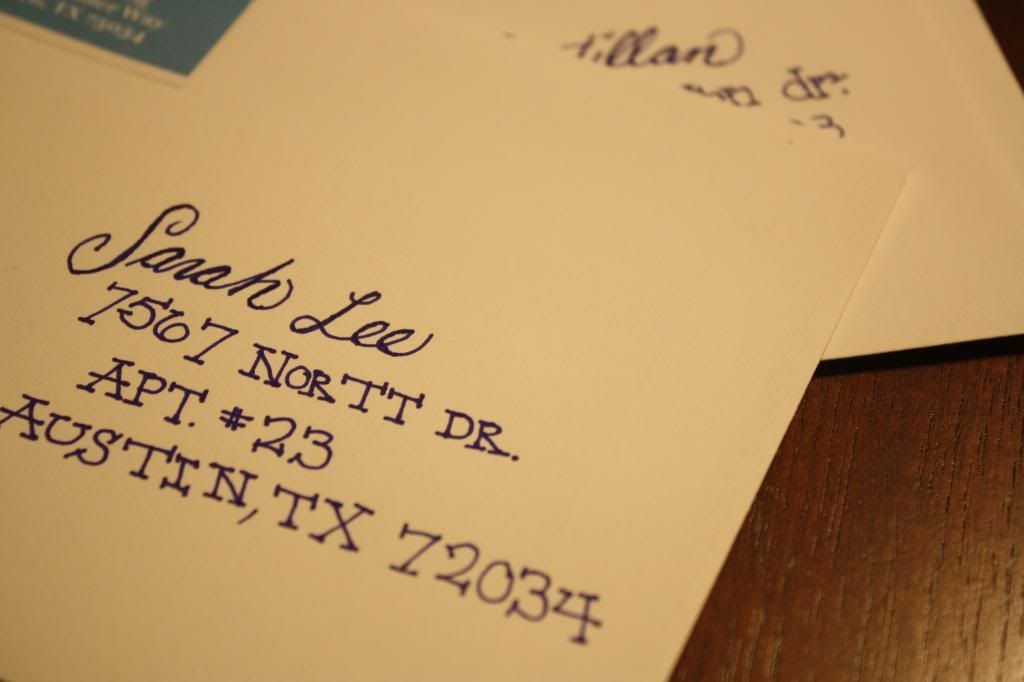
Avery templates which my sister actually liked a lot! One of those Keep It Simple, Stupid moments... If you're liking the fonts, I found it from this blogger: here. The fonts are Return to Sender and Chalkhand Lettering.
Thursday, October 31, 2013
Bridal Shower Banner
Another decoration project for my sister's bridal shower: the banner that reminds all the beautiful guests why they're at my mother's house with gifts, dessert, and mimosas (well that's what I plan to serve).
I remember coming across the idea of pretty burlap from a friend's wedding last year so I was determined to start playing around with it! Joann was having a discount on their various burlap colors, so I'm even tempted to return and get others just to hang on to.
I cut out nine rectangular pieces of the fabric and then folded each piece in half. Measure about an inch at the end and just cut towards the corner. Voila -You've got yourself a beautiful, flag-shaped, but scratchy canvas!
For the letters, I used the EK Scallop paper punch tool on textured cardstock paper and practiced more of the fake calligraphy that can be found here.
Monday, October 21, 2013
DIY Coasters
Now that we got new furniture, it was time to shape up and start using coasters more religiously. We were on the hunt for affordable coasters but we kept bumping into having to pay at least $40 for eight coasters. No thanks! We finally found a cheaper solution - using backsplash tiles and cork boards to create your own. If you're wondering where you can get this awesome glass, look no further. I don't even like cats and I love this!
I can't remember exactly how much we paid for the backsplash tile at Home Depot, but we got a 10 x 10 in. sheet from anywhere between $4-8. The smaller tiles should work just fine too. Go ahead and cut them into 2 x 2's.
Find cork boards like the one below at Michael's and cut into the same sizes as your 4 x 4 tile pieces. We used hot glue to stick them together. Set aside to dry. Mix grout in a small container and brush the mixture onto your coaster. It's going to look dirty, but when it's dry, you can easily rub it off the tile portions and that's it! You got yourself a nice stack of awesome and customizable coasters!
Monday, September 30, 2013
Bridal Shower Invitations
My sister's bridal shower is fast approaching and I have to get these invitations out. I've referred back to a neat calligraphy tip I found off of Pinterest in the past so I thought I'd put it to good use for addressing the envelopes to the girls. All you have to do is write out your word or name in your own cursive handwriting and then go back to draw in a thicker line wherever there is a downstroke.
Subscribe to:
Posts (Atom)


